Overview of All CS2 Console Commands
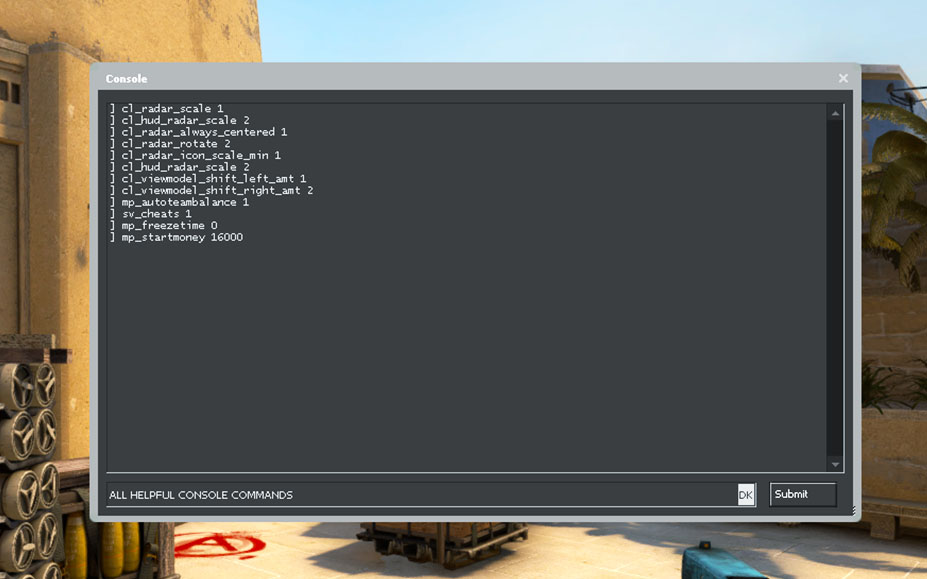
Adjusting console commands in CS2 can significantly elevate your gaming experience. From tweaking your game interface and performance to providing helpful practice commands, there are many beneficial options available for exploration. We have brought together a list of the most useful console commands, each with a detailed description to help you understand what they do and how to use them.
viewmodel_fov
Range 54 – 68
This command allows you to set the field of view (FOV) for your character’s viewmodel. A higher value will increase the FOV and show more of the player’s surroundings, while a lower value will decrease the FOV showing a more zoomed-in view.
viewmodel_offset_x
Range -2.5 – 2.5
This command sets the horizontal offset of your viewmodel, which is the representation of your character’s hand and weapon in first-person view. Positive values will move the viewmodel to the right, while negative values will move it to the left.
viewmodel_offset_y
Range -2 – 2
This command adjusts the vertical position of your viewmodel. Positive values result in upward movement of the viewmodel, while negative values result in downward movement.
viewmodel_offset_z
Range -2 – 2
This command sets the depth offset of your viewmodel, which is the representation of your character’s hand and weapon in first-person view. Positive values will move the viewmodel closer to the character, while negative values will move it farther away.
viewmodel_presetpos
Range 1 – 3
This command include three pre made positions for your viewmodel.
1 = Desktop
2 = Couch
3 = Classic
sv_cheats
Range 0 / 1
This command gives permission for cheat codes to be used on the practice server.
mp_limitteams
Range 0 – 25
This command sets the maximum allowed difference in team sizes in the game. By adjusting this value, you can control how many more players one team can have compared to the other.
mp_autoteambalance
Range 0 / 1
This command automatically balances the number of players on each team to ensure that the number of players on each team is relative.
mp_roundtime_defuse
Range 0 – 60
This command sets the number of minutes that a round takes. Use decimals for seconds.
mp_maxmoney
Range 0 – 60000
This command controls the upper limit of how much money you can carry.
mp_startmoney
Range 0 – 60000
This command adjusts how much money you have at the beginning of a match.
mp_freezetime
Range 0 – 60
This command controls for how long you are frozen in spawn at the beginning of each round. When set to 0 the initial freeze period is eliminated, allowing you to move as soon as the round begins.
mp_warmup_end
Range 0 / 1
This command forces the warmup period to end, immediately starting the game.
mp_buytime
Range 0 – 999
This command controls how long you can access the buy menu after the round has begun.
mp_buy_anywhere
Range 0 / 1
This command allows you to purchase weapons and grenades from any location on the map.
ammo_grenade_limit_total
Range 0 – 5
This command controls the number of grenades you can carry. When set to 5 you can carry all grenades at once.
sv_infinite_ammo
Range 0 / 1
This command turns on limitless ammunition and eliminates the need to reload.
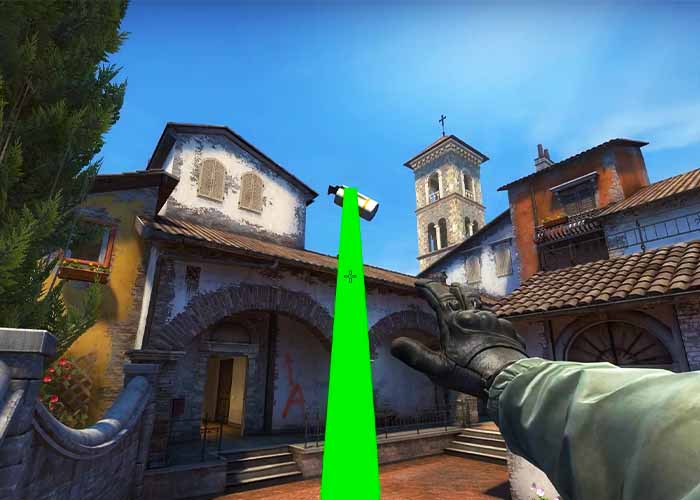
sv_grenade_trajectory_prac_pipreview 1
This command gives a preview of where the grenade will land.
sv_grenade_trajectory_prac_trailtime
Range 0 – 60
This command draw and show the grenade trajectory line for X seconds
sv_grenade_trajectory_time_spectator
Range 0 – 60
This command draw and show the grenade trajectory line for X seconds for any spectators
sv_rethrow_last_grenade
This command automatically rethrows the last grenade used without you needing to stay in the same position.
sv_showimpacts
Range 0 / 1
This command enables the visualization of bullet impacts helping you see where your shots are landing.
sv_showimpacts_time
Range 0 / 1
This command determines for how long, in seconds, the grenade trajectory line is visible.
cl_crosshairsize
Range 0 – 1000
This command controls the size of the lines that make up your crosshair in the game. A lower value will make your crosshair lines thinner, while a higher value will make them thicker.
cl_crosshairgap
Range -2 – 2
This command adjusts the size of the hole in the middle of your crosshair. A smaller value will make the hole smaller, while a larger value will make it bigger.
cl_crosshairalpha
Range 0 – 255
This command controls how visible your crosshair is on the screen. A lower value will make it less visible, while a higher value will make it more visible.
cl_crosshairthickness
Range 0.1 – 3.0
This command changes the thickness of the lines that make up your crosshair.
cl_crosshaircolor
Range 0 – 4
This console command changes the color of your crosshair.
cl_crosshairdot
Range 0 / 1
This command puts a dot in the center of your crosshair. If you set the crosshair size to 0, you will only see the dot.
cl_crosshairstyle
Range 1 – 5
This command sets the shape of your crosshair and whether or not it changes when your character moves.
cl_crosshair_drawoutline
Range 0 / 1
This command enables or disables a black outline around your crosshair. This will increase the visibility of the crosshair.
cl_crosshair_outlinethickness
Range 0.1 – 3
This useful console command controls the thickness of the black outline around your crosshair.
cl_crosshair_t
Range 0 / 1
This command makes your crosshair look like a “T” shape by not drawing the top line. When the command is set to 0 you will see a normal crosshair type.
cl_radar_scale
Range 0.25 – 1
This command allows you to adjust the size of the radar displayed in your game, giving you more control over how much of the map you can see at one time. A lower value will make the radar appear more zoomed in, while a higher value will make it appear more zoomed out. Many players use this command to zoom out their radar for a better overall view of the map.
cl_hud_radar_scale
Range 0.8 – 1.3
This command controls the amount of space on your HUD that is occupied by the radar. You can adjust the scale to make the radar take up more or less space in your field of view.
cl_radar_always_centered
Range 0/1
This command determines if your radar is always centered on your location, or if it moves with your camera view. Turning this feature off can be useful, as it allows you to see more of your surroundings when you’re near the edges of the map.
cl_radar_rotate
Range 0/1
This command toggles whether or not the radar rotates as you move your camera view. Some players find that disabling this feature makes it easier to use the radar, as it remains in a fixed position.
cl_radar_icon_scale_min
Range 0.4 – 1.25
This command allows you to adjust the size of your character dot on the radar, giving you more control over how easily you can spot your location on the map.
cl_radar_square_with_scoreboard
Range 0/1
This command determines the shape of the radar when the scoreboard is open. A value of 0 will cause the radar to remain in a circle shape, while a value of 1 will change it to a square.
cl_hud_color
Range: 0 – 10
This command changes the color of your HUD . The number you input represents a specific color.
hud_scale
Range: 0.95 – 1.10
This command changes the size of the HUD. It can be adjusted to suit your personal preferences or screen resolution.
